 A new countertop in your home is a sure way to add value. This is true when the countertop installation is being done in the kitchen, bathroom, or any other room. The only thing that can prevent your new countertops from adding value to your home is if they aren’t installed the correct way.
Any home improvement job that’s done is worth nothing if it’s done poorly. With that being said, we want to ensure that your new countertops are installed as they should be. The best way to do so is to follow our simple guide.
Are you ready to start your next DIY project? Continue reading below for several tips on how to install countertops the right way!
Table of Contents
Remove Your Current Countertops
The first step you need to take is to remove your current countertops. This also includes removing your backsplash as well. When removing your backsplash, be sure to use caution.
Any damages caused while removing the backsplash could result in drywall repairs. Once you lift your old countertops off, check the cabinets underneath. The cabinets should be leveled and completely flat.
You can check for this by placing a level on top of them. If the cabinets aren’t leveled as they should be, then you need to correct this problem before installing your new countertops.
Take Your Measurements
If your cabinets are leveled, then you’re good to go. Your next step is to measure the cabinets. Take measurements from several different spots on the cabinets.
You want to have accurate measurements in both the width and length. If walls surrounding your cabinets aren’t perfectly square, then this needs to be taken into consideration. It’s hard to find walls in a home that have perfect squareness and straightness, but keep that in mind when doing your measurements.
If need be, you can use hot glue to glue on vinyl strips to the wall to ensure that it’s even. This will make installing your cabinets much easier.
Cut Your Laminate or Plywood
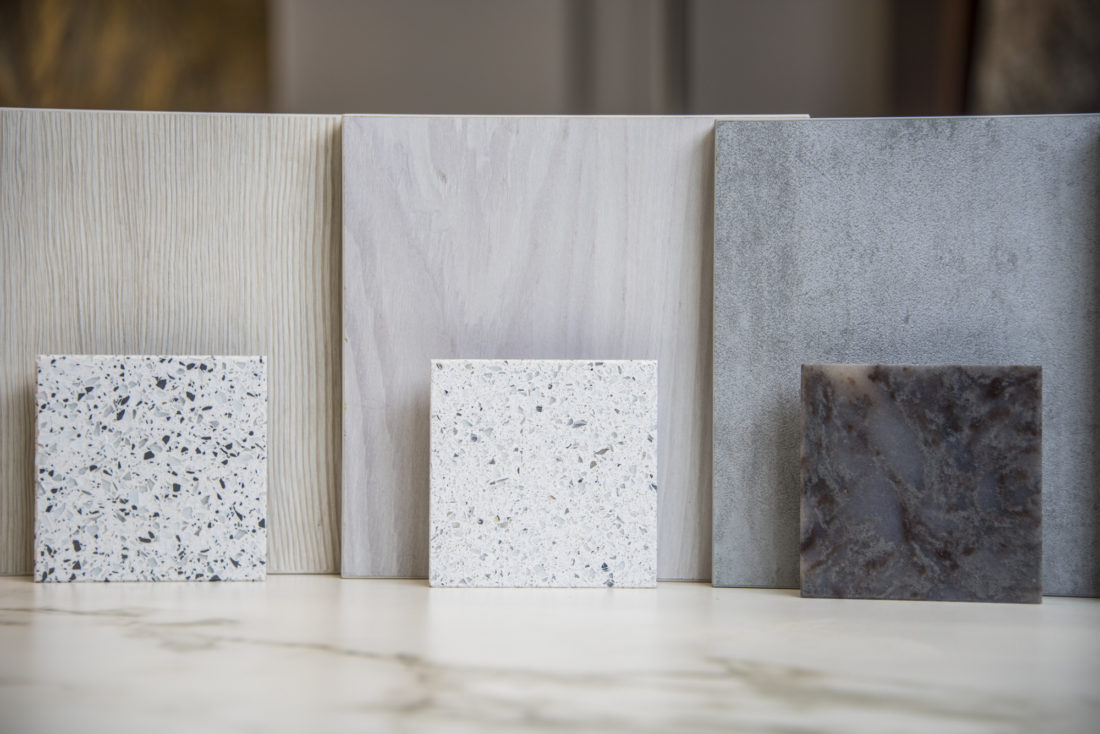
When choosing kitchen countertops or bathroom ones, you’re probably debating between laminate or stone. Depending on which you choose, you’ll follow a different course of action for the installation process.
Now you’ll need to cut your laminate or your plywood. If you’re installing laminate countertops, then you can go straight to cutting the laminate piece out. If you’re installing marble or stone countertops, then you need to cut your plywood first.
Stone countertops are heavy and require a good piece of plywood to rest under them as a foundation. Use your measurements to cut out a template from a piece of plywood. You’ll then use your sink to trace the needed cut out on the plywood.
When installing laminate, you can cut the laminate itself and file any ends smooth.
Check the Countertop vs the Drawers
When placing the countertop on the cabinets, the countertop should extend from the wall to the edge of the cabinets. One thing that you need to be sure of is that the countertops don’t surpass the drawers underneath them. If the cabinet drawers don’t clear the edge of the countertops, then you can attach build-up strips.
Most laminate countertops will come with these strips. You install them underneath the countertops. If your countertops don’t come with them, then you can use a 1×2 piece of lumber and install them.
Screw Plywood onto Counter for Stone
If installing stone countertops, then your next step is to screw the plywood onto the counter. Use this template to measure how you’ll need to cut the stone. Then, screw the plywood onto your cabinets.
If your cabinets are a bit off with their leveling, you can place shims on them under the plywood to make things even. Consider predrilling holes in the cabinets as well. This helps the screws install properly and keeps the wood from splitting.
Once the plywood is installed, lay the stone countertops on top to see if it fits correctly. Remember to hold the stone in a vertical position when moving it around. Be careful when laying them down as you don’t want to break them.
Once laid down on the plywood, you may need to shave the stone here and there to get it to fit as it should.
Set the Countertop in Place for Laminate
When installing laminate, you can set the countertop in place right on the cabinets themselves. Don’t forget to use your sink as a way to trace the opening needed for it in your countertops. Add extra support along the back edges of the cabinets for the countertops if desired, and then begin your installation.
Place the laminate on the cabinets and drill through the build-up strips. You can also add angle brackets inside your cabinets. The countertop you’re installing will have a recommended adhesive to use to hold it into place.
Be sure to use this adhesive and then tap the seam of it with a mallet and scrap wood to ensure everything is even.
Install the Sink
Your last step is to install the sink. When installing a porcelain sink, you’ll need to glue it down to the countertops using silicone caulking. If you’re installing a metal sink, then use brackets to hold down instead.
Once your sink is sturdy in its place, your job is complete!
Countertop Installation Made Simple!
Countertop installation doesn’t have to be difficult. Keep these helpful steps in mind when installing your own countertops, and you’ll have the job done right in no time!
Looking for more posts like this one? Browse through our categories frequently for more!