 As of 2020, the US market size of the water heater manufacturing is valued at a staggering $2.7 billion. Tankless water heaters make up a significant percentage of this market as more American homeowners make the switch from traditional water heaters to tankless models.
Modern tankless water heaters are highly efficient, helping homeowners save more on their daily water and energy usage. It’s the top reason people opt to upgrade to them when their conventional water heaters start showing signs of age.
For DIY enthusiasts, knowing how to install a new water heater comes in handy when the time to invest in the equipment comes. The good news is that with the right tools and know-how for the task, you can install a tankless water heater entirely on your own.
In this comprehensive guide, we tell all you need to know on how to go about the job. Read on to learn more.
Table of Contents
Before You Start
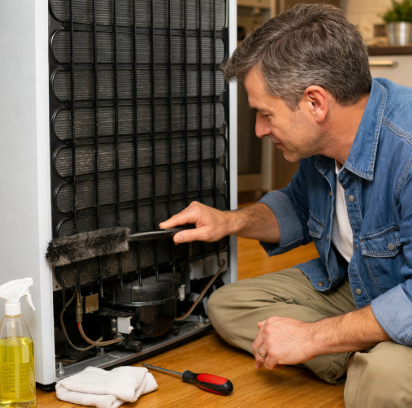
Before buying a new water heater, you need to determine whether your current water heater is due for replacement or some servicing will suffice. If you suddenly not getting hot water, the issue could your water heater’s heating element. A technician would be able to fix the problem accurately by conducting a water heater test.
However, if you keep noticing water on the floor near your water heater, it’s likely that you have a much bigger problem. Replacing the water heater at this point may be the best move. Thankfully, there are many tankless options in the market today, so you shouldn’t have a problem getting the ideal one for your needs.
Here’s a Step-By-Step Guide on How to Install a New Water Heater
Whether you’re getting an electric water heater or a gas water heater, you’ll be happy to know that the heater comes with instructions to guide you on installation. Take heed, though. There’s electricity, natural gas, or propane involved, all of which can be hazardous. In case you’re not comfortable handling them, it’s best to hire a good plumber to handle the job.
Below, we supplement any instructions that come with your new tankless water heater with easy installation tips.
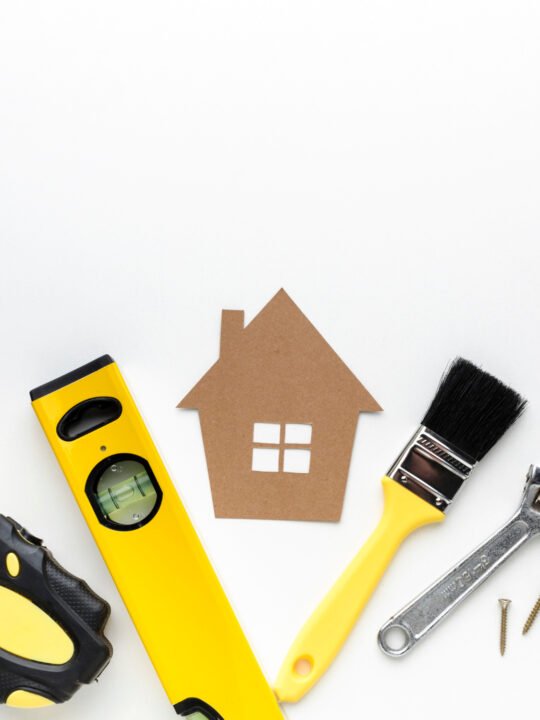
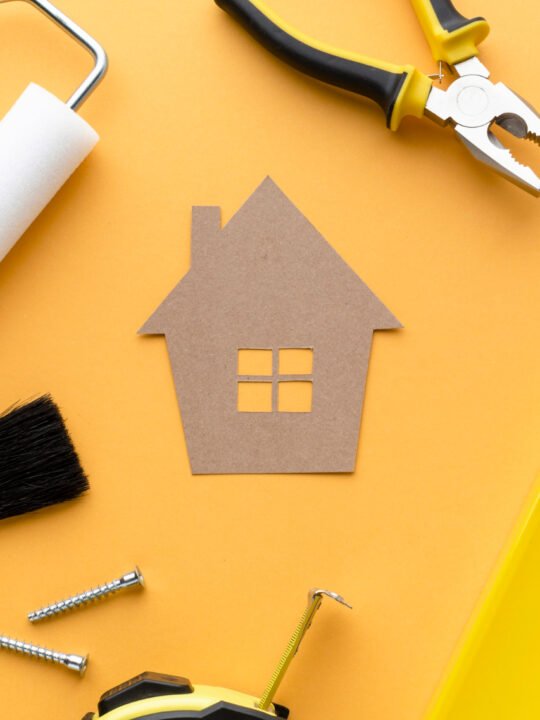
Step 1: Gather the Tools and Materials Required
To install a water heater, you’ll need several tools. These include a 4-in-1 screwdriver, an adjustable wrench, some electrical tape, a pipe wrench, a plumbers tape, a soldering torch, some safety glasses, and a tape measure. You’ll also need a tube cutter, a voltage tester, and a wire stripper/cutter.
The materials required include a discharge pipe, some pipe thread compound, fillings, solder, water and gas piping, venting pipe and connectors, and a pressure relief valve.
Step 2: Close the Gas and Water Taps
Now that you have all the tools and materials you need, it’s time to get started with the actual installation process. The first thing you need to do is to cut off the gas supply to the water heater. A quarter-turn of the shutoff valve is sufficient to close the gas supply.
Next, turn off the main pipe water supply. Open the faucet on your house’s lowest floor to drain all pipes.
Step 3: Shut Down the Cold and Hot Water Lines
Locate the vent pipe and unscrew it. Move it to one side and then turn off the cold and hot water lines using the tube cutter. Remove the old water heater to make room for the new one.
Step 4: Fasten the Relief Valve
Using the tape, wrap the threaded part of the new water heater’s temperature and relief valve. Use the pipe wrench to fasten it into the water tank. Also, attach the discharge pipe.
Step 5: Fix the Pipe Assemblies
Now’s the time to solder copper adapters. Be sure to fix the assemblies to the cold water inlet and hot water outlet ports. Remember to add plastic-lined nipples for guarding against corrosion, particularly if you receive hard water, or your local codes require it.
Step 6: Fix the Water Lines
Position your new water heater correctly. You may need to extend or recut the old tubing, so it meets the new. Solder the old and new tubing together.
Step 7: Reconnect the Vent
Reattach the vent by shoving it tightly over your draft hood. Anchor the vent with three metal screws. You’ll need to predrill the holes to screw the vent into place.
Step 8: Reattach the Gas Line
Reattach the gas line and coat the threaded part using a pipe joint compound. Screw the plastic nipple to attach it to the gas valve. Finish up the union by reassembling any remaining plastic nipples.
Close the drain valve, and restore the water supply. Also, turn on the cold water valve that leads to the water heater and leave it open. Turn on the hot water faucet until hot water comes out.
Be sure to check for any leaks.
Step 9: Check for Back-Drafting
A lot of water heaters use a natural draft to absorb all combustion fumes through the flue. Unfortunately, the draft may not always work. The danger is that these fumes, which may contain deadly carbon monoxide, could spill back into your home.
For this reason, check the draft as soon as you’ve finished installing the new water heater. Close your doors and windows and shut off all exhaust fans. Open one of your hot water faucets and wait for a full minute.
Light a match and blow it off. Move the smoking match near the draft hood. If the smoke isn’t drawn up the vent pipe, you have a problem.
Turn off the gas immediately and call a seasoned plumber to fix the problem.
Step 10: Switch ON the Pilot Light
If everything seems to be working well, it’s time to light your water heater’s pilot light and appropriately set the temperatures. Follow the manufacturer’s instructions when doing so. You can now start enjoying your new water heater.
Installing Your Water Heater Doesn’t Need to Be Difficult
Once your current water heater is on its last legs, it’s time to think about replacing it. Luckily, all it takes is some knowledge on how to install a new water heater to pull off the job on your own.
Would you like to read more great content on water heater installation? Please keep visiting our blog.